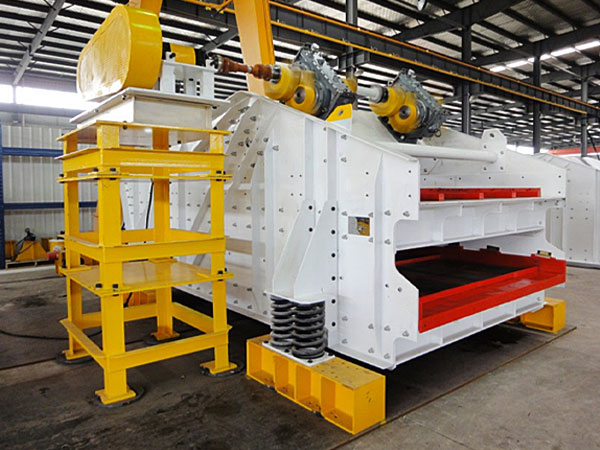
A Complete Guide to Replacing Linear Vibrating Screens
Linear vibrating screens play a vital role in industries such as mining, chemicals, and building materials. As a core component, the screen’s performance directly impacts screening efficiency. Linear vibrating screens can wear and tear with long-term use, making proper screen replacement procedures crucial. This article provides a detailed guide, covering every step from replacement preparation to final commissioning, to help you easily complete vibrating screen screen replacement.
Linear Vibrating Screen Mesh Replacement Steps

Step 1: Preparing for Replacement
Before beginning the replacement process, thorough preparation ensures a smooth and safe process.
Safely disconnect the power supply to the linear vibrating screen and display a warning sign to prevent accidental startup. This is the most critical safety step during vibrating screen replacement.
Tools: Gather all necessary tools, including a wrench, screwdriver, hammer, scissors or a utility knife, a measuring tape, and the new vibrating screen and retaining strips.
Cleaning Equipment: Use a high-pressure water jet or air gun to clean the inside of the screen box and the surface of the screen to remove any residual material and facilitate subsequent work.
Step 2: Removing the Old Screen
Next, we will remove the worn or damaged old screen.
Loosening the retaining strips: Use a wrench or screwdriver to loosen the retaining strip bolts one by one and remove the retaining strips.
Removing the Old Screen: Carefully remove the old screen from the screen frame. If the screen is severely damaged, it may have sharp edges; always wear gloves when handling.
Inspect the screen frame: After removing the old screen, carefully inspect the frame for deformation, cracks, or loose welds. If any damage is present, repair it first.

Step 3: Install the New Screen
Installing the new screen is the core of the entire replacement process and requires patience and meticulousness.
Cut the New Screen: Use a tape measure to measure and cut the new vibrating screen according to the screen frame dimensions. When cutting, leave a sufficient margin to facilitate tightening later.
Place the Screen: Lay the newly cut screen flat on the screen frame, ensuring it is flat and wrinkle-free.
Install the Bracing Strip: Reposition the Bracing Strip around the edge of the screen and tighten the bolts. When tightening, follow the principle of “first in the center, then at the sides” to ensure that the screen is evenly tightened and free of slack. Use moderate tightening force to avoid overtightening and tearing the screen.
Step 4: Commissioning and Inspection
After replacing the screen, do not rush into production; commissioning and inspection are necessary.
Visual Inspection: Recheck the screen mesh for flatness, even tension, and secure holding strips.
No-load Test Run: Turn on the power and perform a no-load test run. Observe the vibrating screen for normal vibration patterns and any unusual noises.
Load Test Run: After confirming that the no-load operation is correct, perform a loaded test run with a small amount of material. Observe the screening performance and check for looseness.
Following these steps, you can efficiently and safely replace the linear vibrating screen mesh. Regular inspection and maintenance of the linear vibrating screen mesh not only ensures production efficiency but also extends the life of the equipment.


