A Step-by-Step Guide to Safely Changing Your Vibrating Screen Mesh
Vibrating screen mesh plays a critical role in the screening efficiency and product quality in various industrial applications. Over time, due to wear and tear or changes in production requirements, it becomes necessary to change the screen mesh. Changing the vibrating screen mesh involves a careful process of dismantling, selecting the appropriate mesh size and material, and installing it securely to ensure optimal performance.
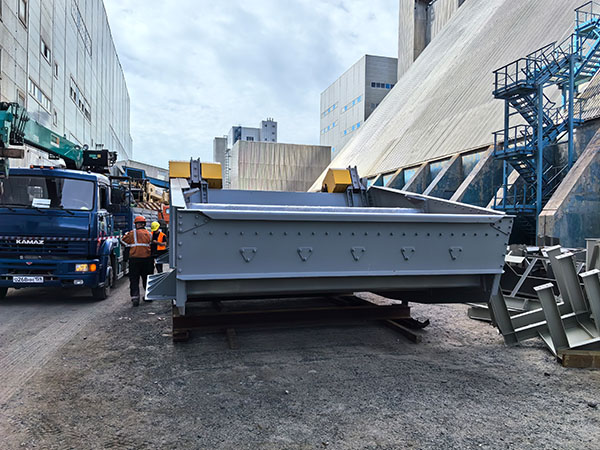
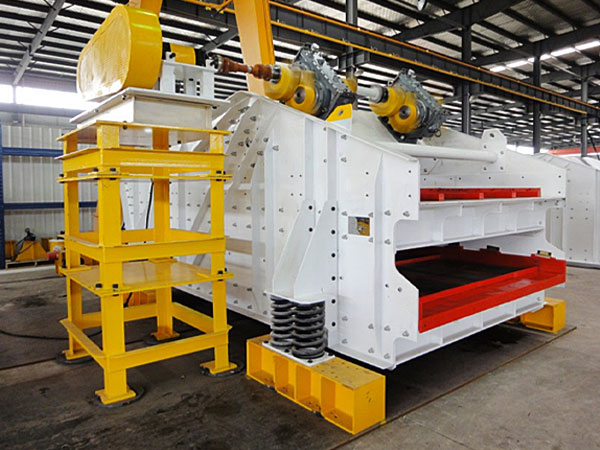
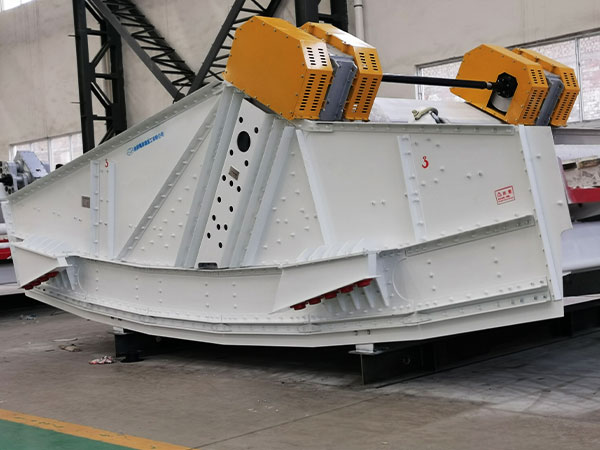
Vibrating Screen Mesh Change
Changing a vibrating screen mesh safely is crucial for preventing injuries and ensuring the longevity of your equipment. Here’s a step-by-step guide to help you through the process.
I. Preparation: Safety First!
Read the Manual: Always refer to your vibrating screen’s owner’s manual for specific instructions, warnings, and recommended procedures. Different manufacturers may have unique requirements.
Gather Your Tools and PPE:
Personal Protective Equipment (PPE):
Safety glasses or face shield
Gloves (cut-resistant are recommended)
Steel-toed boots
Hard hat (if there’s an overhead risk)
Hearing protection
Tools:
Wrenches (open-ended, box-end, or socket set, appropriate for your screen’s fasteners)
Pry bar or flat bar (for stubborn tension rails)
Wire cutters or tin snips (if dealing with wire mesh)
Tape measure (for verifying new screen dimensions)
Brush or scraper (for cleaning)
Marker or chalk (for marking components)
Sling or hoist (for large, heavy screens, if applicable)
New screen mesh
Any necessary replacement wear parts (e.g., clamp bars, rubber strips, tension springs).
De-energize and Lock Out/Tag Out (LOTO): This is paramount!
Shut down the screen: Turn off the power at the control panel.
Isolate the power source: Disconnect the main power supply to the screen.
Apply LOTO procedures: Use locks and tags to prevent accidental re-energization during maintenance.
Verify zero energy: Confirm that the screen cannot start unexpectedly (e.g., by attempting to start it after LOTO).
Clear the Area: Remove any loose materials, tools, or personnel from the immediate vicinity of the screen to create a safe working space.
II. Removing the Old Screen Mesh:
Inspect for Remaining Material: Ensure there’s no material left on the screen surface. If necessary, use a brush or scraper to remove any stuck material.
Identify Tensioning Mechanism: Understand how your specific screen mesh is tensioned. Common methods include:
Side Tension: Clamp bars along the long sides of the screen.
End Tension: Tension springs or bolts at the ends of the screen.
Pin and Ball: For modular screen panels.
Loosen Tensioning Devices:
Side Tension: Loosen the bolts on the clamp bars that hold the screen in place. You may need to use a pry bar carefully to lift the clamp bars if they are stuck.
End Tension: Loosen the tensioning bolts or remove the tension springs at the ends of the screen. This will relieve the tension on the mesh.
Modular Panels: Release the locking pins or mechanisms that secure the individual panels.
Remove Worn Wear Parts: As you loosen components, note the condition of any rubber strips, clamp bars, or other wear parts. These often need to be replaced along with the mesh.
Carefully Remove the Old Mesh: Once the tension is released, carefully lift and remove the old screen mesh. Be aware that edges can be sharp and the mesh may still be under some residual tension. If it’s a large or heavy mesh, use a sling or hoist.
Inspect and Clean the Screen Deck:
Thoroughly clean the screen deck, removing any debris, rust, or material buildup.
Inspect the deck for any damage, cracks, or worn areas. Address any issues before installing the new mesh.
Check the integrity of the support frames and cross members.
III. Installing the New Screen Mesh:
Verify New Mesh:
Confirm the new mesh is the correct size, material, and opening (aperture) for your application.
Inspect for any shipping damage or defects.
Position the New Mesh: Carefully lay the new screen mesh onto the screen deck, ensuring it is centered and properly aligned. Pay attention to the direction of flow if your screen has directional properties.
Install New Wear Parts:
Place new rubber strips, crown rubber, or other sealing components along the support rails or under the mesh. These are critical for preventing material bypass and premature wear.
Install new clamp bars or tension rails as needed.
Apply Tensioning (Specific to Your Screen Type):
Side Tension:
Place the clamp bars over the edges of the mesh.
Gradually tighten the bolts on the clamp bars, working evenly from the center outwards to apply even tension. Avoid over-tightening one side before the other.
The mesh should be taut and free of wrinkles or sags.
End Tension:
Attach the tensioning springs or bolts to the ends of the mesh.
Gradually tighten the tensioning bolts evenly on both sides until the mesh is taut.
Follow the manufacturer’s recommended tensioning specifications (often indicated by spring compression or bolt torque). Uneven tension can lead to premature screen failure.
Modular Panels: Secure each modular panel using its specific locking mechanism, ensuring a tight fit.
Final Inspection During Installation: As you tension the mesh, continuously check for:
Even tension across the entire surface.
No wrinkles, bulges, or loose spots.
Proper seating of all clamp bars, rubber strips, and fasteners.
IV. Post-Installation and Start-Up:
Double-Check All Fasteners: Go over every bolt, nut, and clamp to ensure they are properly tightened.
Remove Tools and Debris: Clear all tools, old mesh, and any other debris from the screen area.
Remove LOTO: Once the area is clear and all checks are complete, remove the locks and tags from the power source.
Re-energize the Screen: Restore power to the vibrating screen.
Test Run:
Start the screen and run it briefly without material to observe its operation.
Listen for any unusual noises.
Check for proper vibration patterns.
Visually inspect the new mesh for any immediate signs of loosening or problems.
Gradual Introduction of Material: Gradually introduce material to the screen, starting with a smaller feed rate. Monitor performance closely.
Monitor and Re-tension (If Necessary): The new mesh may stretch or settle after initial operation. It’s good practice to re-check the tension after a few hours or a shift of operation and re-tension if needed.
By following these steps, you can safely and effectively change your vibrating screen mesh, minimizing downtime and maximizing the life of your equipment and the safety of your personnel.

