Installation steps, debugging and precautions of vibrating screen exciter
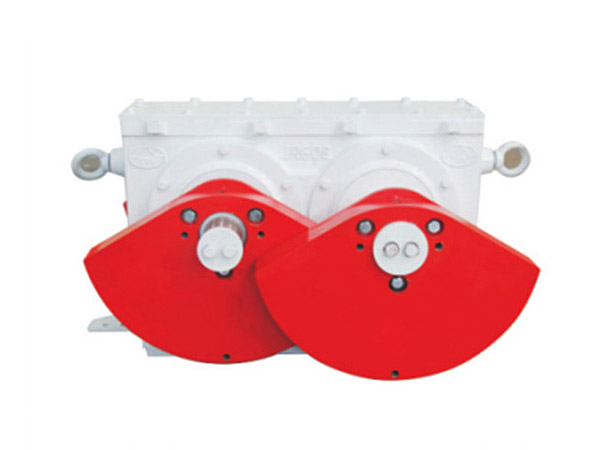
A vibration exciter must be installed on the mine vibrating screen equipment to realize the screening of materials. The vibrating screen exciter is a device used to generate the exciting force, which can make the object to be excited obtain a certain form and magnitude of vibration, thereby vibrating the object. In addition to providing exciting force, the exciter also determines the vibration frequency and amplitude of the vibrating screen. Therefore, the correct installation of the vibration exciter is very important. Below, the editor of Hiside will talk about the installation steps and debugging of the vibrating screen exciter.
Installation steps of vibrating screen exciter

1. Before installing the vibrating screen exciter, first refer to the packing list to check whether the parts are complete and damaged.
2. Refer to the installation drawing for installation. The supporting frame must be installed horizontally on the foundation. The foundation should have sufficient rigidity and strength to support all the dynamic and static loads of the vibrating screen.
3. The screen box trunnion can be used to lift the sieve machine, and the whole sieve cannot be directly hung on the exciter. Lift the exciter to the installation position, and use the bolts to locate at four points symmetrically. Install the exciter anchor bolts, and Preload.
4. When installing the vibration exciter, ensure that there is a 75mm gap between the screen box and non-moving parts such as hoppers and troughs.
5. Remove the spreader before tightening the anchor bolts, tighten the exciter anchor bolts diagonally with a torque wrench, and tighten the anchor bolts to a fixed torque.
6. Install the coupling and the protective cover, keep the eccentric block installed in a natural state, and install the vibration exciter and the coupling protective cover in turn. The installation must be firm and reliable.
7. Fill the exciter with lubricating oil, and the grease and oil level meet the requirements.
8. Clean up the scene. Count tools, materials, accessories, and debris on site. The site should be tidy and clean. Then began the debugging work of the vibrating screen exciter.
Debugging steps of vibrating screen exciter
1. The exciter must be rotated by hand (or other methods) before the test run. The machine can be started only when the rotation is flexible and there is no jamming phenomenon.
2. When debugging, adjust the excitation force, first remove the wind shield. Loosen the counterweight fastening bolts, adjust the eccentric block and counterweight of the exciter at the same phase and angle, or increase or decrease the number of counterweights, tighten the bolts, and reinstall the air hood. Adjust the size of the exciting force to meet the needs of different materials or processing capacity of various vibration equipment.
3. The exciter has no abnormal noise, no leakage, and the bearing temperature rise does not exceed 75 degrees Celsius.
4. The trajectory of the vibrating screen is a straight line, the amplitude difference of the four points is less than 2 mm, and the angle difference of the four points is less than 2 degrees.
Precautions for installation and debugging of vibrating screen exciter

1. When hoisting the vibrating screen exciter, don’t bump it when transferring or installing it.
2. Do not disassemble parts and components at will during installation. When installing, check whether the anchor bolt holes are consistent with the bottom plate bolt holes.
3. After the seat type vibration exciter is installed, it should be horizontal horizontally and symmetrical to the center line of the screen body.
4. Turn on the machine for a short time and check whether the working direction of the exciter meets the requirements (the two shafts of the exciter should rotate in opposite directions).
5. The anchor bolts should use strength bolts and take anti-loosening measures to prevent damage to the exciter.
6. The thin oil lubrication exciter needs to open the cooler to supply oil first, check whether the oil circuit is dredged, whether there is oil leakage, and start the test run when the oil return pipe starts to return oil.
7. Do not disassemble parts at will during installation. After installation, the exciter should be horizontal.
8. The bolts connecting the exciter and the screen box are high-strength bolts, which are not allowed to be replaced by ordinary bolts. The tightness must be checked regularly and once a month. The loosening of any one of the bolts will also cause other bolts to be cut, causing damage to the screen machine.
In summary, the installation procedure of the vibrating screen exciter is to first check whether the parts are complete, then lift the exciter to the installation position, install and pre-tighten the anchor bolts, and tighten the anchor bolts to a fixed specified torque. Add lubricating oil. Because of the exciting force of the vibrator, the vibrating screen can run smoothly without swinging and twisting, and produce low noise.

