QA and QC Tests Every Vibrating Screen Operator Should Know
Every vibrating screen operator knows that consistent screening performance depends on more than just starting the machine and feeding material. Quality Assurance (QA) and Quality Control (QC) tests form the backbone of reliable operation, helping to detect wear, misalignment, and process deviations before they lead to costly downtime or product quality failures. Whether you are new to screening operations or a seasoned professional, mastering these fundamental tests ensures your equipment delivers the expected gradation, throughput, and longevity. In this guide, we outline the core QA and QC tests that every operator should integrate into their routine, drawing on industry best practices and the engineering expertise of Haiside.
1. Pre-Operational Inspection: The Foundation of QA
Before any load is applied, a thorough pre-operational check verifies that the vibrating screen is mechanically sound and safe to start. This QA step establishes a baseline for all subsequent tests.
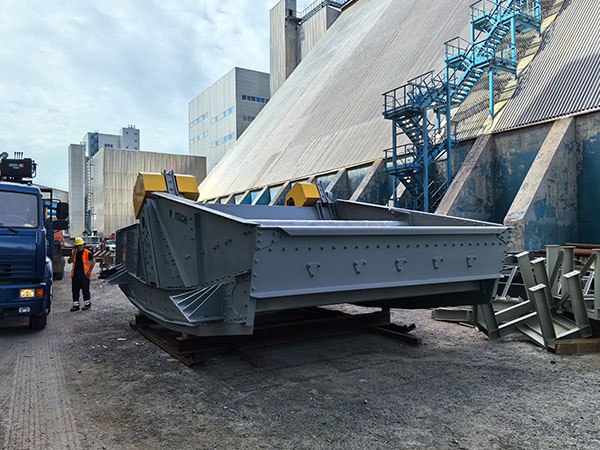
1.1 Visual and Structural Examination
Inspect the screen deck, side plates, cross beams, and support structure for cracks, deformation, or loose bolts. Particular attention should be paid to weld joints and areas around the exciter mounting. Haiside recommends using a calibrated torque wrench to verify that all fasteners meet the manufacturer’s specified torque values.
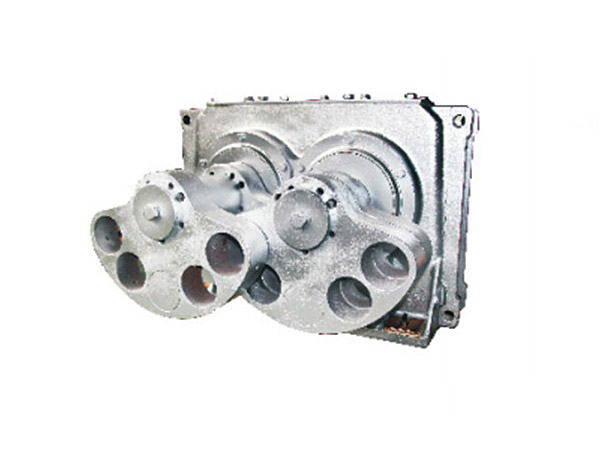
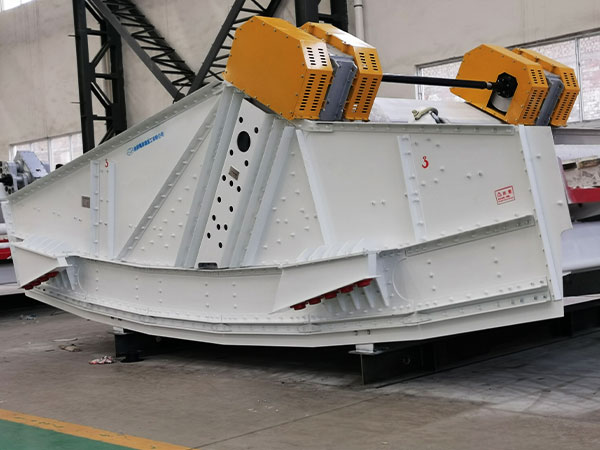
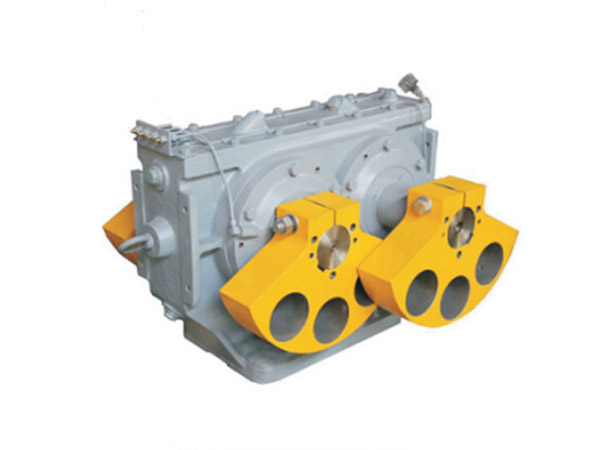
1.2 Vibration Mechanism Check
Ensure the exciter (vibrator) is correctly assembled with the proper oil level and no leaks. Rotate the exciter manually (if possible) to confirm free rotation without binding. Check that the drive belts or coupling are aligned and tensioned per specifications.
1.3 Safety Systems Verification
Test emergency stops, interlocks, and guards. Confirm that the screen is isolated from upstream and downstream equipment before start-up.
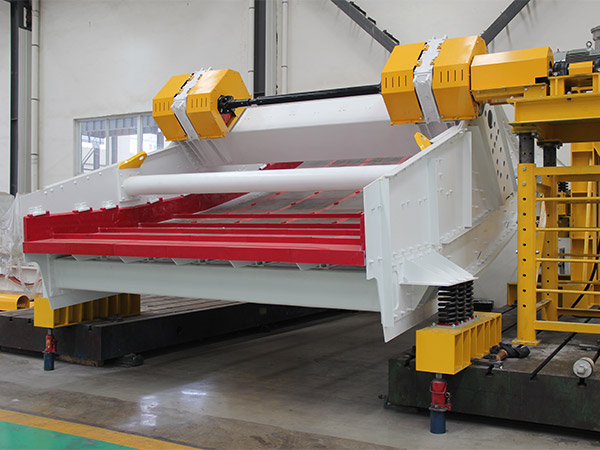
2. Dynamic Performance Tests: Amplitude, Frequency, and Stroke
Once the screen is running at no-load, operators must measure key vibration parameters to confirm the machine is operating within design tolerances.
2.1 Amplitude Measurement
Amplitude (travel) is the total displacement of the screen deck. Use a vibration analyzer or a simple amplitude measurement card to record the peak-to-peak displacement at all four corners of the deck. The acceptable variation between corners should be less than 10%. Haiside engineers emphasize that amplitude below specification reduces stratification efficiency, while excessive amplitude accelerates structural fatigue.
2.2 Operating Frequency (RPM)
Using a tachometer or built-in encoder, verify that the exciter speed matches the manufacturer’s target frequency. Any deviation of more than 5% may indicate belt slippage, electrical frequency issues, or incorrect pulley ratios.
2.3 Stroke Angle and Direction
On linear motion screens, confirm the stroke angle (typically 30–45 degrees) using an inclinometer or by observing the attached angle indicator. Erroneous stroke angles lead to poor material travel and inefficient screening.
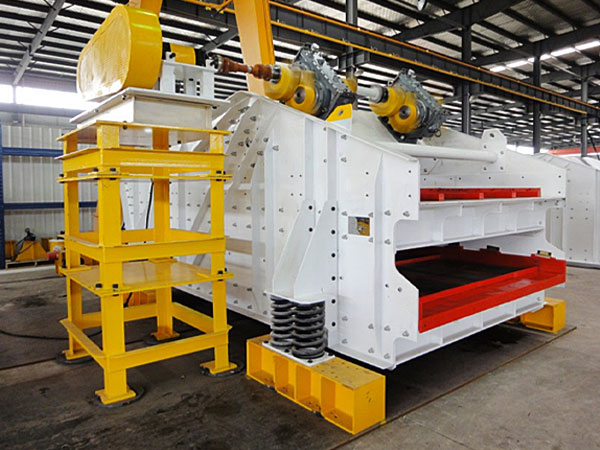
3. Screening Media Integrity and Tension QC
The condition and tension of the screen cloth or polyurethane panels directly influence cut-point accuracy and blinding.
3.1 Visual Mesh Inspection
Examine each panel for broken wires, worn apertures, and tears. For woven wire cloth, use a magnifier to check for fatigue cracks at the crimp points. Replace any panel where more than 5% of the apertures are enlarged beyond the allowed tolerance.
3.2 Tension Verification
Proper tension prevents sagging and premature failure. Use a tension meter to measure the force applied to the screen cloth. Haiside recommends a tension of 900–1100 N/cm for typical woven wire applications. Re-tension after the first 24 hours of operation and then weekly.
3.3 Seal and Gasket Check
Inspect the edge seals and gaskets between deck modules. Gaps permit bypass (fines leaking around the screen cloth), which is a common QC failure that can go unnoticed for hours.
4. Loaded Testing and Process Validation

QA is not complete until the screen is tested under actual material feed conditions.
4.1 Material Bed Depth and Velocity
Using a scale marker on the feed box, observe the depth of the material bed across the entire width of the screen. Ideal bed depth should not exceed 4–5 times the aperture size for efficient stratification. Measure material travel velocity (ft/min) by tracking a marked stone; compare to the expected value.
4.2 Screening Efficiency Calculation
Collect samples of feed, oversize, and undersize streams. Perform a sieve analysis to determine the actual efficiency (percentage of material smaller than aperture that passes through). Efficiency values below 85% often indicate worn media, incorrect amplitude, or feed distribution issues.
4.3 Deck Loading and Balanced Flow
Check that material is evenly distributed across all decks. Uneven loading leads to localized blinding and accelerated wear. If necessary, adjust the feed chute or diverter.
5. Predictive Maintenance: Oil Analysis and Vibration Trends
For advanced operators, QC extends beyond daily checks into trend monitoring.
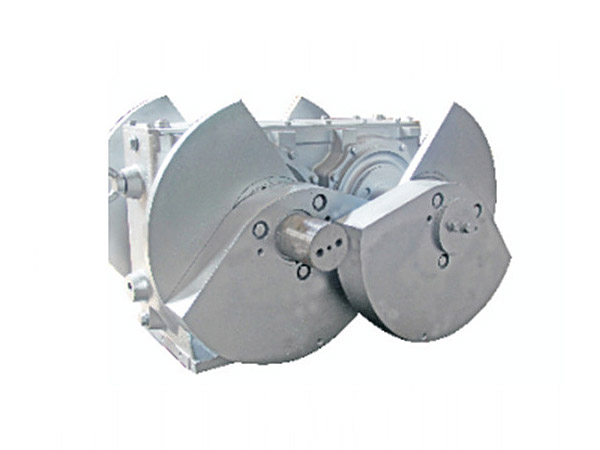
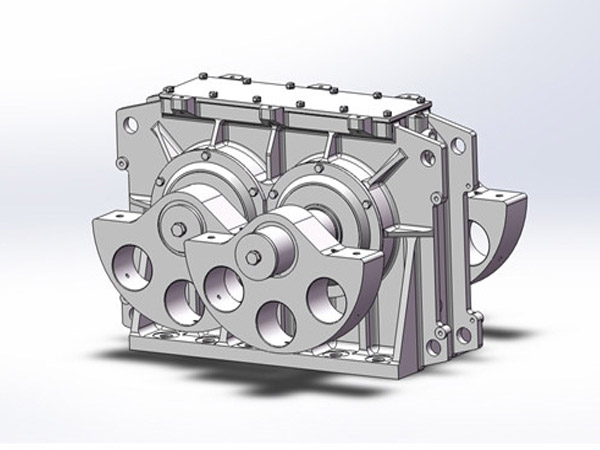
5.1 Exciter Oil Analysis
Send periodic oil samples to a lab for wear metal analysis. Rising levels of iron, copper, or silicon indicate bearing or gear wear before catastrophic failure. Haiside suggests quarterly sampling for screens operating more than 12 hours per day.
5.2 Vibration Spectrum Trending
Use an FFT vibration analyzer to capture baseline signatures. Changes in the 1× or 2× running speed amplitudes can signal imbalance, bearing degradation, or structural looseness. Store weekly readings and compare to the baseline.
FAQ – Common Questions from Vibrating Screen Operators

- How often should I perform amplitude checks? At least daily during the first week of operation, then weekly once stable. Always after replacing exciter components or screen media.
- What is the fastest way to detect screen cloth blinding? Observe the flow pattern on the deck: if material accumulates in one area or the oversize stream appears wet, blinding is likely.
- Can I use the same QC procedures for banana screens and circular motion screens? The principles are the same, but the stroke angle and measuring points differ. Always refer to the specific equipment manual provided by Haiside or your OEM.
- What should I do if screening efficiency drops by 10% without visible damage? First, re-check amplitude and feed rate. Next, verify that the screen slope is correct. Finally, perform a distribution test to rule out feed segregation.
Conclusion
QA and QC tests are not bureaucratic overhead; they are the operator’s primary tools to ensure consistent product quality, maximize throughput, and extend equipment life. By systematically performing visual inspections, vibration measurements, media checks, and process validation, operators can catch small issues before they escalate into major failures. Haiside provides detailed test protocols and training for every screen model, empowering operators to maintain peak performance day after day. Start your next shift with a structured test checklist—your screen and your customers will thank you.


.jpg)