What are the common causes of noise in vibrating feeders, and how can they be solved?
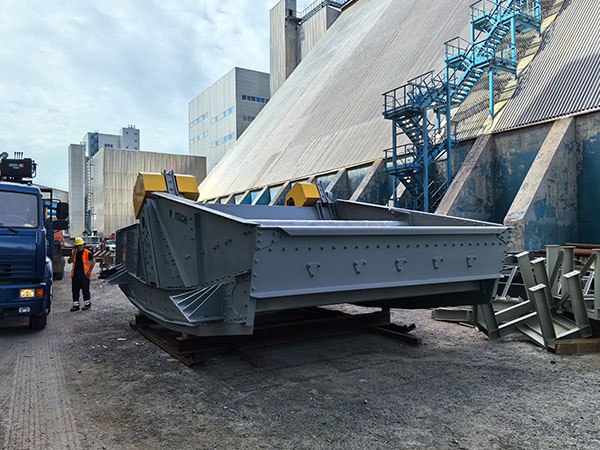
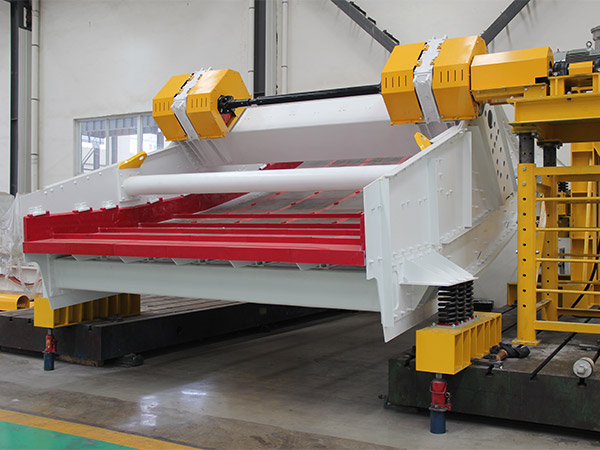
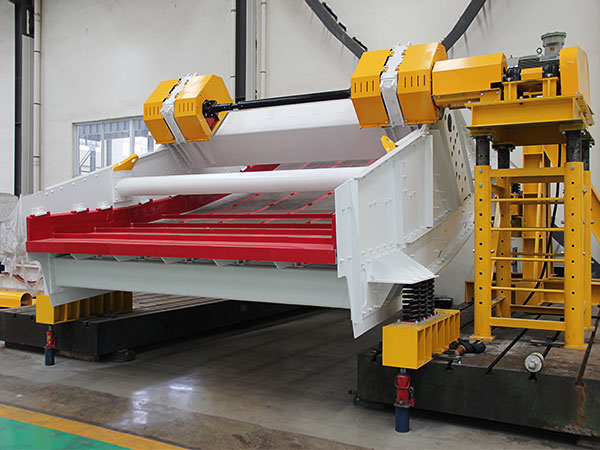
In industrial material handling systems, vibrating feeders play a critical role in ensuring smooth, consistent, and controlled material flow. However, when abnormal noise begins to appear during operation, it often signals underlying mechanical or operational issues that should not be ignored. Excessive noise not only affects the working environment but may also indicate equipment wear, misalignment, or potential failure risks that could lead to costly downtime.
This article provides a comprehensive, practical guide to understanding the common causes of vibrating feeder noise and how to fix them effectively. Whether you are a plant operator, maintenance engineer, or procurement specialist, this guide will help you diagnose problems accurately and implement reliable solutions.
Why Vibrating Feeder Noise Should Not Be Ignored

A properly functioning vibrating feeder produces a steady and predictable sound pattern. When unusual noise occurs—such as knocking, rattling, grinding, or high-pitched vibrations—it typically reflects a deviation from normal operation.
Ignoring these signals can lead to:
Accelerated wear of critical components
Reduced feeding efficiency and inconsistent output
Increased energy consumption
Unexpected equipment shutdowns
Addressing noise issues early helps extend equipment lifespan and ensures stable production performance.
1. Loose Bolts and Fasteners
Cause
Over time, continuous vibration can loosen bolts, nuts, and other fasteners across the feeder structure. When components are no longer tightly secured, they begin to collide or vibrate independently, creating irregular noise.
Solution
You should perform a comprehensive inspection of all fastening points, including:
Motor mounting bolts
Spring seat connections
Trough fixing points
Technicians should use torque wrenches to ensure that all bolts meet the manufacturer’s specified tightening standards. Applying thread-locking compounds can further prevent loosening under continuous vibration.
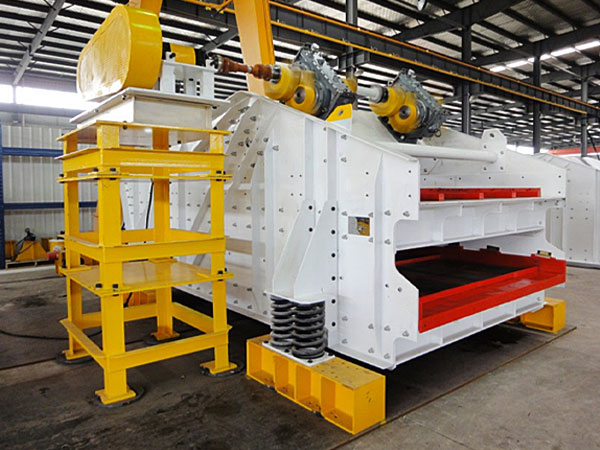
2. Worn or Damaged Springs
Cause
Springs are essential components that absorb vibration and maintain system stability. When springs become fatigued, cracked, or unevenly worn, they lose their ability to distribute vibration evenly, resulting in abnormal noise and erratic motion.
Solution
Maintenance teams should regularly inspect springs for:
Visible cracks or deformation
Uneven compression
Corrosion or fatigue signs
Replacing worn springs with matched sets is critical. You should never replace only one spring, as imbalance will worsen vibration and noise issues.
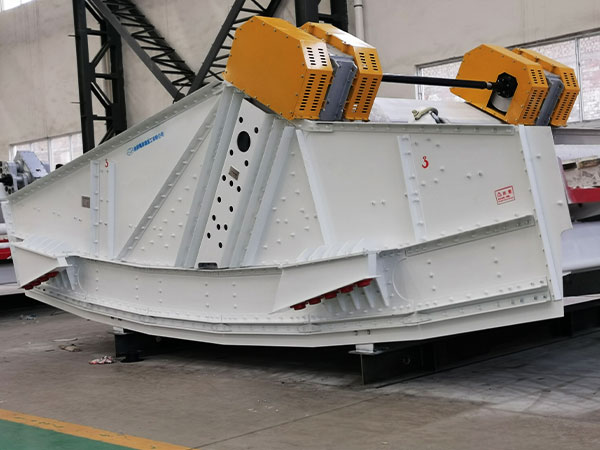
3. Improper Installation or Misalignment
Cause
Incorrect installation is a frequent but often overlooked cause of vibrating feeder noise. If the feeder is not level or aligned properly, it can cause uneven force distribution, leading to structural stress and excessive vibration noise.
Solution
Operators should verify that:
The feeder base is installed on a level surface
The motor axis aligns correctly with the feeder body
All support structures are evenly distributed
Using precision leveling tools and alignment instruments ensures accurate installation and minimizes unnecessary noise.
4. Bearing Wear or Lubrication Failure
Cause
Bearings inside the vibration motor operate under high load and continuous motion. Over time, insufficient lubrication or contamination can cause bearing wear, leading to grinding or whining noises.
Solution
A preventive lubrication schedule should be implemented. Maintenance personnel should:
Use the correct type of lubricant recommended by the manufacturer
Avoid over-lubrication, which can also damage bearings
Replace worn bearings promptly when noise persists
Regular monitoring of bearing temperature and sound patterns helps detect early-stage failures.
5. Material Build-Up or Blockage
Cause
Accumulated material inside the feeder trough can disrupt the normal vibration pattern. This imbalance often results in unusual noise, especially when material suddenly shifts or collapses during operation.
Solution
Operators should maintain consistent cleaning routines to prevent build-up. In addition:
Install liners to reduce material adhesion
Optimize feed rate to prevent overloading
Use anti-blocking designs where applicable
A clean feeder ensures smooth operation and reduces mechanical stress.

6. Structural Fatigue or Cracks
Cause
Long-term operation under high vibration can lead to metal fatigue in the feeder structure. Small cracks may develop in welds or load-bearing areas, which can produce knocking or metallic noise during operation.
Solution
Inspection teams should conduct periodic structural assessments, focusing on:
Weld joints
High-stress zones
Connection points
If cracks are detected, immediate repair through welding reinforcement or component replacement is necessary. Ignoring structural damage can result in catastrophic failure.
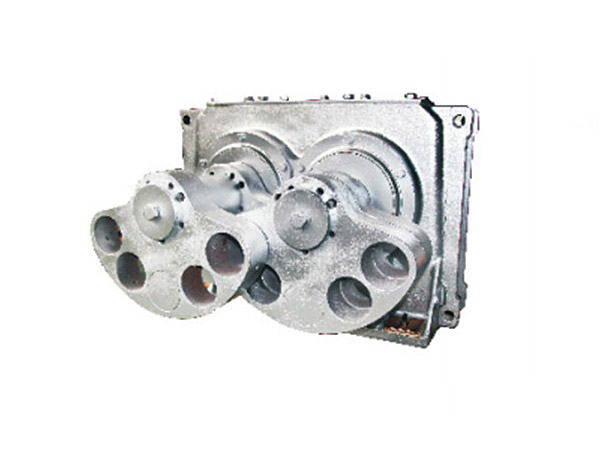
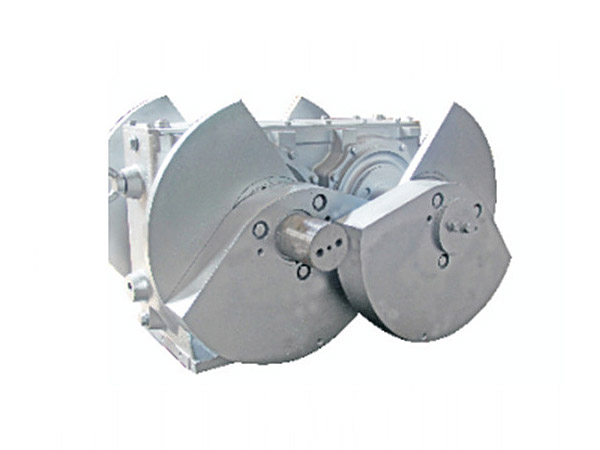
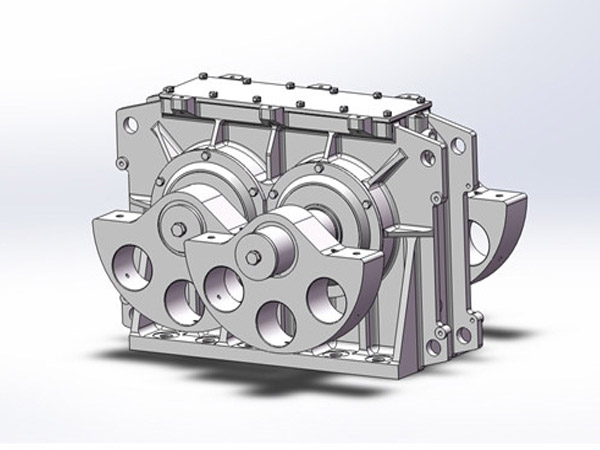
7. Motor Issues or Imbalanced Vibration Force
Cause
The vibration motor generates the driving force for the feeder. If the motor experiences internal imbalance, electrical faults, or rotor issues, it can produce irregular vibration and increased noise levels.
Solution
You should perform routine motor diagnostics, including:
Checking electrical connections
Measuring current stability
Inspecting rotor balance
If abnormalities are detected, recalibration or motor replacement may be required.
Preventive Maintenance Tips to Reduce Noise
To minimize noise issues and maintain optimal performance, companies should establish a structured maintenance plan:
Schedule regular inspections and audits
Train operators to recognize early noise abnormalities
Keep detailed maintenance records for trend analysis
Use high-quality replacement parts to ensure durability
A proactive maintenance approach not only reduces noise but also significantly lowers long-term operating costs.
When to Seek Professional Support
While many noise issues can be resolved through routine maintenance, complex problems involving structural damage or motor failure may require professional technical support. Partnering with an experienced equipment manufacturer or service provider ensures accurate diagnosis and reliable repair solutions.
Conclusion
Vibrating feeder noise is not just an inconvenience—it is often an early warning sign of mechanical or operational issues. By understanding the common causes, including loose components, worn springs, misalignment, bearing failure, and structural fatigue, operators can take targeted actions to resolve problems efficiently.
Timely troubleshooting and preventive maintenance not only improve equipment reliability but also enhance production efficiency and workplace safety. For businesses aiming to optimize performance and reduce downtime, addressing vibrating feeder noise should always be a priority rather than an afterthought.
If you want to further improve your equipment efficiency or need expert guidance on feeder selection and maintenance strategies, consider working with a trusted supplier who can provide tailored solutions based on your operational needs.

.jpg)