Improving Screening Efficiency in Coal Preparation Plants: How Linear Vibrating Screens Drive Performance and Profitability
In modern coal preparation plants, screening is no longer a simple separation step—it is a critical control point that directly determines product quality, plant throughput, and overall operating costs. As coal processing systems become increasingly automated and performance-driven, operators are placing greater emphasis on equipment that delivers not only high capacity but also precision, stability, and long-term reliability.
Among the various screening technologies available today, the linear vibrating screen has proven to be one of the most efficient and adaptable solutions. Its ability to maintain consistent screening performance under varying feed conditions makes it particularly suitable for coal preparation environments, where material properties such as moisture content, particle size distribution, and ash content can fluctuate significantly.
For plant managers and engineers seeking to optimize production efficiency while controlling operational costs, understanding the real value of linear vibrating screens is essential.
Why Screening Efficiency Matters More Than Ever
In a typical coal preparation plant, screening efficiency influences multiple downstream processes, including washing, flotation, dewatering, and material handling. Poor screening performance often leads to:
Misclassification of coal particles
Reduced separation efficiency in washing systems
Increased wear on downstream equipment
Higher energy consumption
Product quality inconsistencies
Modern plants are no longer satisfied with “acceptable” screening results. Instead, they require equipment that ensures tight particle size control, minimal material loss, and continuous operation with minimal downtime. This shift in expectations has significantly increased the importance of high-performance screening solutions.
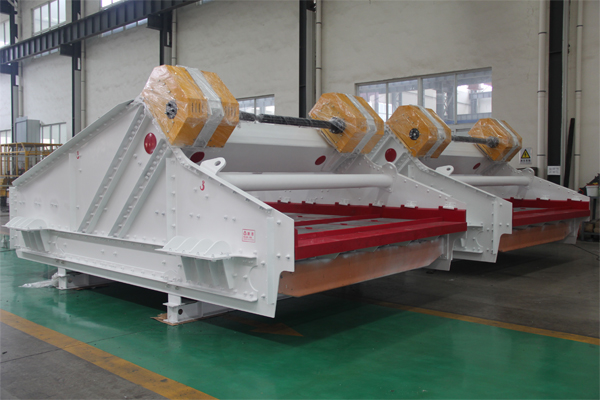
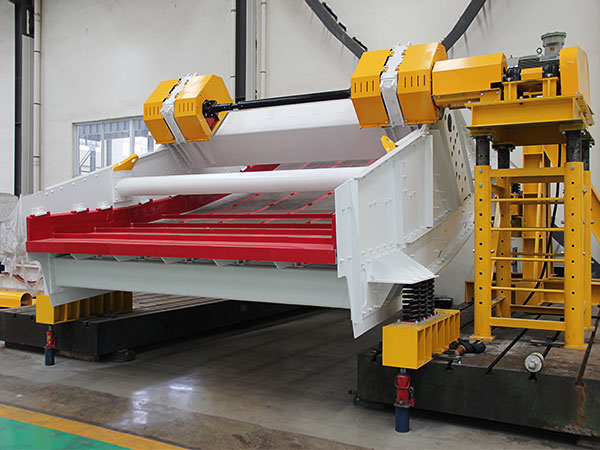
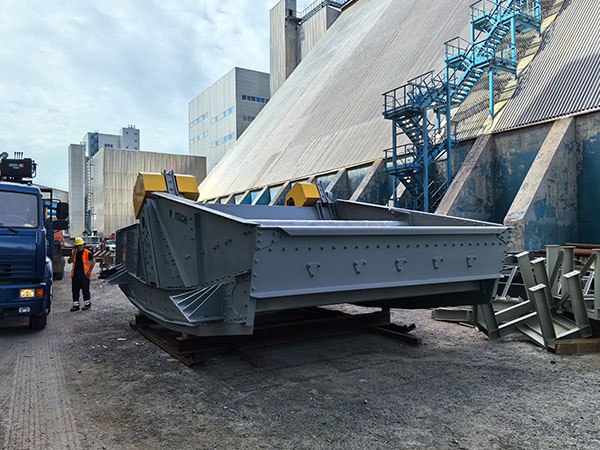
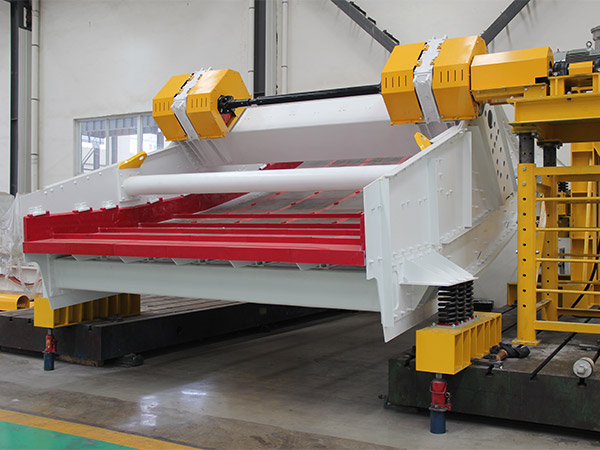
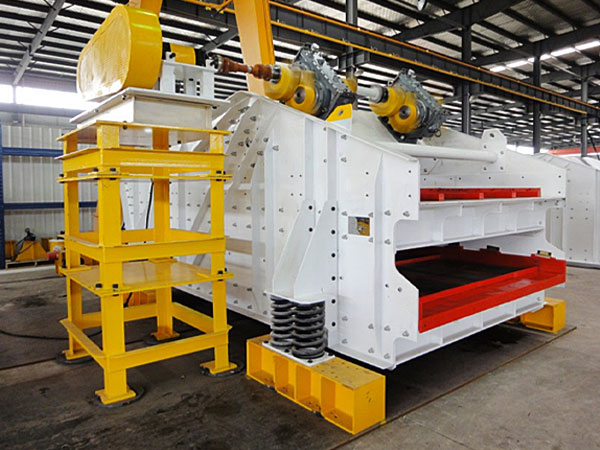
Understanding the Working Principle of Linear Vibrating Screens
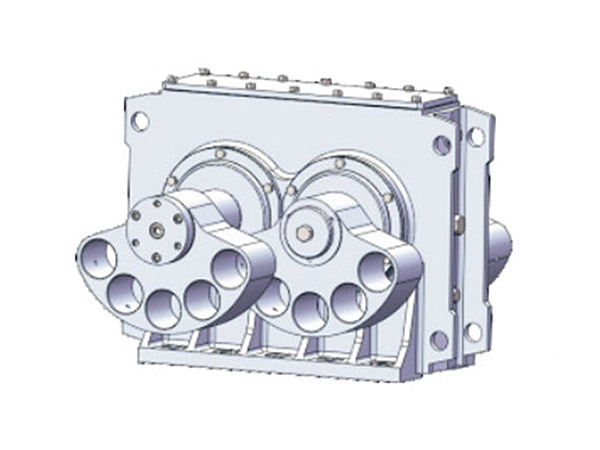
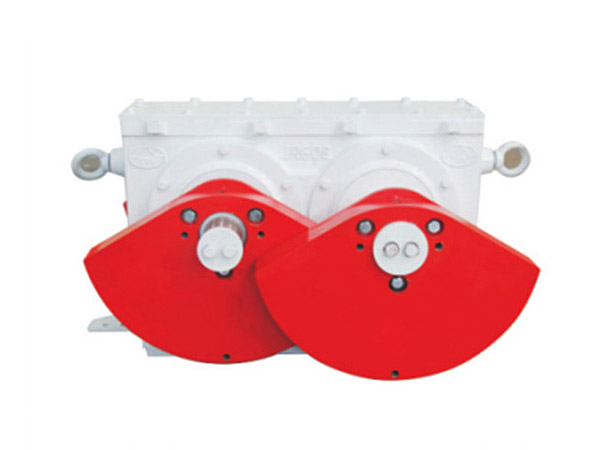
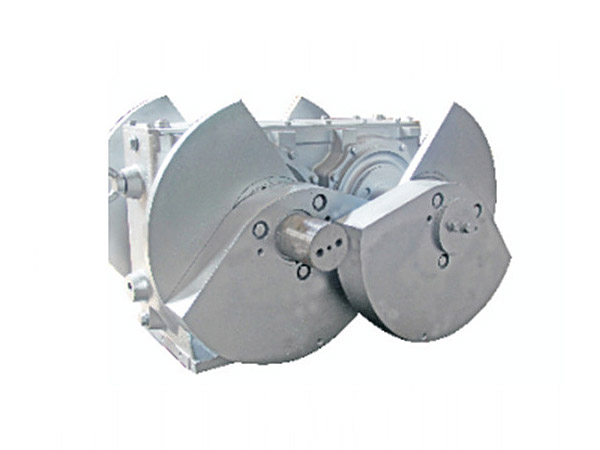
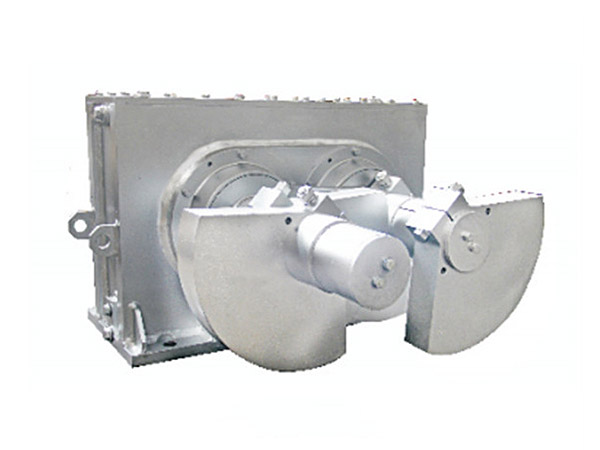
A linear vibrating screen operates through a relatively simple yet highly effective mechanism. Two vibration motors are mounted symmetrically on the screen body. When these motors rotate in opposite directions, they generate a synchronized excitation force that drives the screen deck in a straight-line motion.
This linear motion creates a forward-moving trajectory for the material. As coal travels across the screen surface:
Larger particles move toward the discharge end
Smaller particles pass through the screen apertures
Moist or sticky materials are continuously loosened by vibration
Compared to circular vibrating screens, the linear motion offers a key advantage: uniform material distribution across the entire screen width. This significantly reduces material buildup and improves screening accuracy, especially when handling fine or wet coal.
Core Applications in Coal Preparation Plants
Linear vibrating screens are highly versatile and can be integrated into multiple stages of coal processing. Their performance directly impacts the efficiency of the entire plant.
1. Raw Coal Classification
Before entering the washing system, raw coal must be separated into different size fractions. Linear vibrating screens ensure precise classification into coarse, medium, and fine particles.
This step is critical because:
Each size fraction requires different washing methods
Proper classification improves separation accuracy
It prevents overloading of downstream equipment
Accurate sizing at this stage helps reduce unnecessary processing and energy consumption.
2. Desliming and Fine Particle Removal
Fine particles and slime can severely affect the efficiency of coal washing systems. Linear vibrating screens equipped with fine mesh panels can effectively remove these unwanted materials.
By stabilizing the feed quality, they help:
Improve the efficiency of dense medium cyclones
Enhance flotation performance
Reduce medium contamination
This results in better separation outcomes and lower operating costs.
3. Dewatering Processes
After washing, coal products contain a significant amount of surface moisture. Linear vibrating dewatering screens use high-frequency vibration to remove water efficiently.
Key benefits include:
Lower moisture content in final products
Reduced transportation costs
Improved storage stability
Higher market value of coal
In many plants, efficient dewatering can directly impact profitability.
4. Dense Medium Recovery
In dense medium coal preparation systems, recovering magnetite suspension is essential for maintaining process efficiency and reducing material costs.
Linear vibrating screens assist in:
Separating clean coal from medium
Recovering reusable magnetite
Reducing medium loss
This ensures a stable and cost-effective operation.
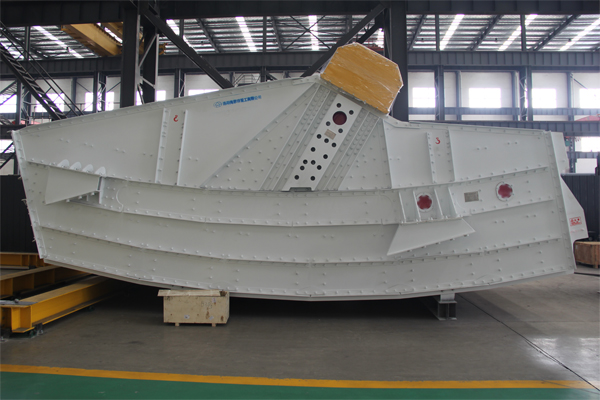
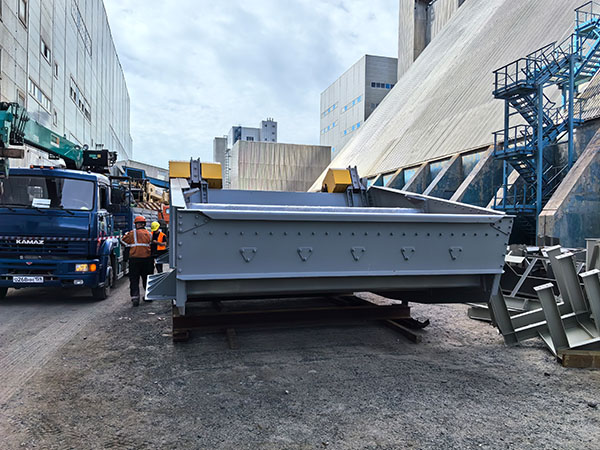
Structural Design Advantages That Enhance Durability
Coal preparation environments are harsh, involving continuous impact, abrasion, and vibration. Linear vibrating screens are designed to withstand these demanding conditions.
Key structural features include:
High-strength steel construction to resist impact and deformation
Reinforced side plates for long-term structural stability
Modular screen deck design for quick maintenance and replacement
Wear-resistant screen panels made from polyurethane, stainless steel, or manganese steel
In addition, advanced vibration isolation systems—such as rubber or polyurethane springs—help reduce noise and minimize stress on supporting structures.
Operational Benefits for Coal Processing Facilities
Linear vibrating screens offer a combination of performance and practicality that makes them highly valuable in continuous production environments.
Stable and Consistent Screening Performance
The linear motion ensures uniform material flow, resulting in reliable and repeatable screening results.
High Throughput Capacity
These screens are capable of handling large volumes of material, making them suitable for modern high-capacity plants.
Low Maintenance Requirements
The relatively simple mechanical structure allows for easy inspection, maintenance, and part replacement.
Energy Efficiency
Optimized vibration systems reduce unnecessary energy consumption, helping plants lower operating costs.
Flexibility in Application
Linear vibrating screens can be used for both dry and wet screening, making them adaptable to various process requirements.
Intelligent Monitoring and Automation Integration
With the advancement of Industry 4.0 technologies, modern linear vibrating screens can be equipped with intelligent monitoring systems.
These systems allow operators to track:
Vibration amplitude and frequency
Bearing temperature
Motor load and power consumption
Real-time data enables predictive maintenance strategies, reducing the risk of unexpected failures and extending equipment lifespan.
How to Select the Right Linear Vibrating Screen
Selecting the appropriate screening equipment requires a thorough understanding of both material characteristics and process requirements.
Key factors to consider include:
Feed particle size distribution
Moisture content
Required processing capacity
Screening accuracy requirements
Installation space constraints
For large-scale coal preparation plants, multi-deck configurations are often necessary to achieve precise classification. Smaller operations may benefit from compact single-deck designs.
In addition, parameters such as screen inclination angle, vibration frequency, and mesh size must be carefully optimized. Working with an experienced manufacturer ensures that the equipment is tailored to real operating conditions rather than generic specifications.
Future Trends in Screening Technology
As environmental regulations and energy efficiency standards continue to evolve, coal preparation plants are moving toward more sustainable and intelligent solutions.
Future developments in linear vibrating screens are likely to include:
Lightweight yet high-strength structural materials
Advanced anti-wear coatings for extended service life
Energy-saving vibration motors
Intelligent control systems with remote diagnostics
Improved dynamic balancing for reduced mechanical stress
These innovations will enable plants to maintain high productivity while meeting stricter environmental and operational requirements.
Conclusion: A Strategic Investment for Long-Term Efficiency
The role of linear vibrating screens in coal preparation plants has evolved far beyond basic material separation. Today, they are a key factor in achieving high efficiency, consistent product quality, and cost-effective operations.
When properly selected, installed, and maintained, a high-performance linear vibrating screen can:
Improve overall plant efficiency
Reduce operating and maintenance costs
Enhance product quality and consistency
Support long-term operational stability
For coal processing companies aiming to remain competitive in a demanding market, investing in advanced screening technology is not just a technical upgrade—it is a strategic decision.
Work with an Experienced Screening Solution Provider
If you are planning to upgrade your coal preparation plant or expand production capacity, choosing the right equipment partner is just as important as selecting the right machine.
Our engineering team combines practical industry experience with advanced design capabilities to deliver customized linear vibrating screen solutions. We analyze your material characteristics, production targets, and plant layout to ensure optimal performance and long-term reliability.
Contact us today to discover how tailored screening solutions can help you improve efficiency, reduce costs, and maximize the value of your coal processing operations.